Prepare Hardware Components
Here are the lists of hardware components that you need to build a coin-operated Wifi Vending Machine.
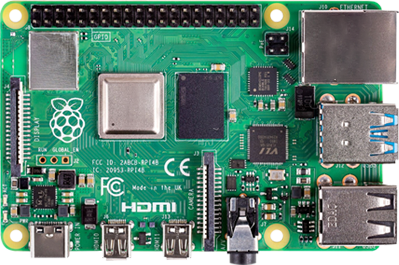
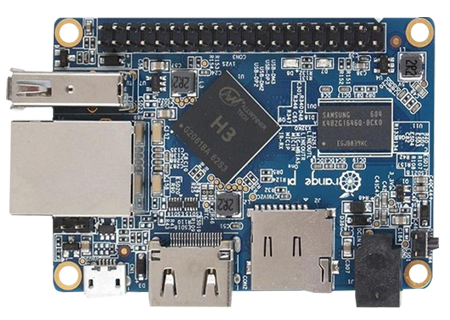
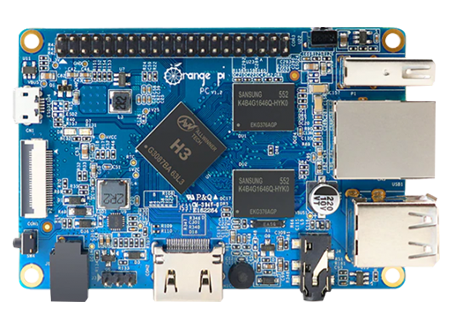
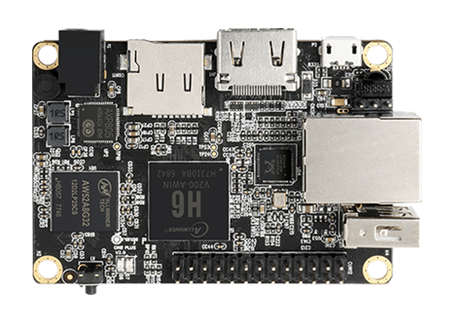
1. Board
List of supported boards/hardwares:
-
Raspberry Pi 3/4
-
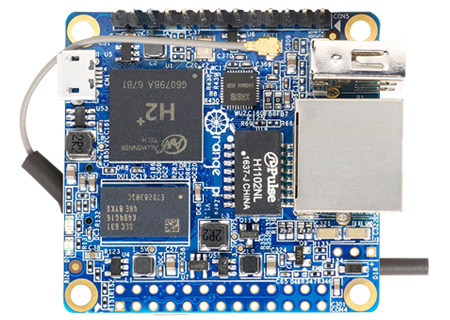
OPi One
-
OPi PC
-
OPi One Plus
-
OPi Zero
-
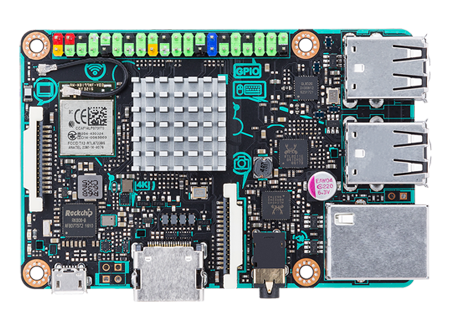
Asus Tinker Board
-
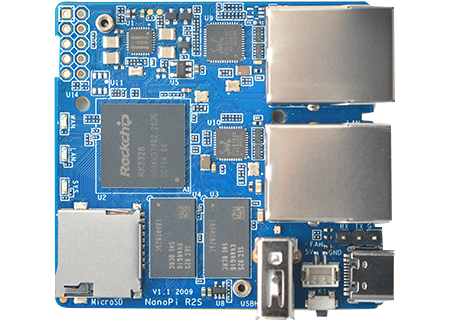
NanoPi R2S
-
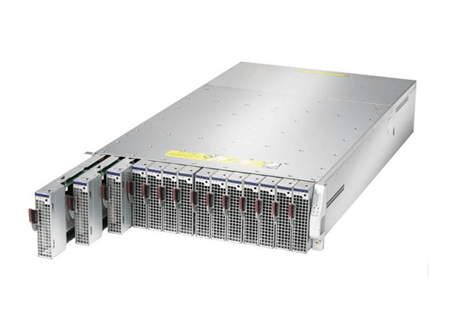
Ubuntu Server
-
Android TV Box
2. Power Adapter (12V 5A)
To power up your board and coinslot, you need to have a Power Adapter that is at least 12V 5a (for coinslot) and 5V 3a (for the board - should refer to your specific board’s requirements).
You don’t necessarily need to have 2 separate power adapters for your coinslot and board. You can just buy a 12V and 5A Power Adapter and use a “Buck Converter'' to distribute the right amount of voltage and amperage specific to your board and coinslot.
3. Female DC Power Jack Adapter (12V)
Receives power from the Power Adapter and distributes it to Coinslot and Board through the wires inserted to it.
4. SD Card
We recommend using a genuine SD card with at least 8GB storage capacity. This is where you will flash the software image.
5. SD Card Reader
A genuine or good quality SD Card Reader is recommended to avoid files getting corrupted when flashing the software image.
6. Coinslot
A programmable coinslot that can be calibrated to accept different coin denominations.
7. JST Connector
To connect from the coinslot’s SET PIN to the board’s dedicated PIN header.
8. Dupont Wires
Usually comes as a coinslot package. You’ll use this to connect the coinslot to the board’s PIN headers.
9. Buck Converter
Used to convert high voltage to the right amount of voltage needed by your board and coinslot.
10. Power Cord (phone usb to micro-usb power cord will do)
To connect from Buck Converter’s USB Port to the board.
11. UTP Cable
You’ll need UTP Cables for the following connection:
- Router to Board’s LAN Port
- USB to LAN Adapter (or switch for VLAN) to External Access Point
12. Access Point
Add an access point to your setup to extend the wifi range of your machine such as Comfast, TPLink, Tenda and other similar access points.
Please note that there are 2 options available depending on your Access Point:
- If your Access Point is VLAN capable, then you can have the VLAN Setup.
- If your Access Point is not VLAN capable, you’ll have to go with the USB to LAN Setup. In this case, you need to use a USB to LAN Adapter.
13. USB to LAN Adapter
(For USB to LAN Setup Only.)
The list of supported boards above have only 1 LAN Port. You’ll need an extra LAN Port and should use a USB to LAN adapter.
Important Note:
For countries where AdoPiSoft Official Custom Board is available (such as in the Philippines), there’s no need for these components:
- JST Connector
- Dupont Wires
- Buck Converter
Instead, you’ll only need the following:
- Any of the supported boards (Raspberry Pi, Orange Pi, Asus Tinkerboard, Nano Pi R2S)
- Power Adapter
- AdoPiSoft Official Custom Board
- Coinslot
- SD Card
- SD Card Reader
- UTP Cable
- Access Point
Next:
Download AdoPiSoft Software Image